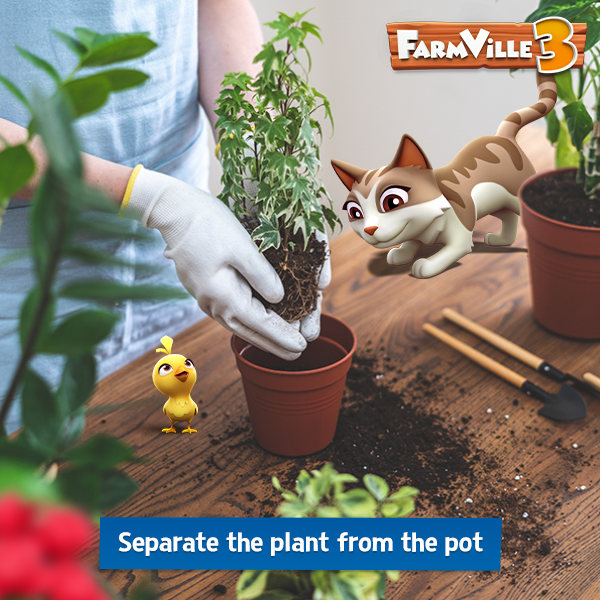
Simple Steps to repotting a plant successfully
Hello there! Today we will give you some simple steps on repotting your plant to its new home efficiently. Plants certainly add life to your home and today we are going to learn how to make their life easy and bright. Choose a new pot: Select a pot that is bigger than the present one […]

Hello there! Today we will give you some simple steps on repotting your plant to its new home efficiently. Plants certainly add life to your home and today we are going to learn how to make their life easy and bright.

Choose a new pot: Select a pot that is bigger than the present one and make sure it’s large enough for your plant to relax in it, having a little extra room to grow for the year ahead.

Covering the drainage hole: The new pot must also have at least one drainage hole at the bottom. Otherwise your plant might be sitting in water leading to rot. To avoid this, cover the drainage hole with a porous material, such as coffee filter, butter paper or cupcake paper mould. This will prevent soil erosion yet allow water to pass through comfortably. Don’t forget to water your plant! This is a healthy way of keeping the plant’s root ball together.

Untangle old roots: Before you give your plant its new home, prune and untangle the older roots and remove roots that are growing out of the core root balls.

Maintain space between the plant and the pot: Using a knife, loosen the surrounding soil. Then turn the pot upside down, you may place your hand over the top of the pot for support. Rotate the plant a few inches in both directions to further loosen it up and allow it to fall out.

Place the plant in the new pot: Place the plant at the center of the new pot and keep it upright then press it firmly into its new home. Add soil and pat it down firmly, water it and allow it to settle down.
Hurray! You have successfully repotted your plant. While your plants grow joyfully, we would like to thank you all for your growing love towards your farm and us.
See you soon and happy farming!


